HV Replication Monitor Licensing Guide
Step 1 - Obtain the Computer Names
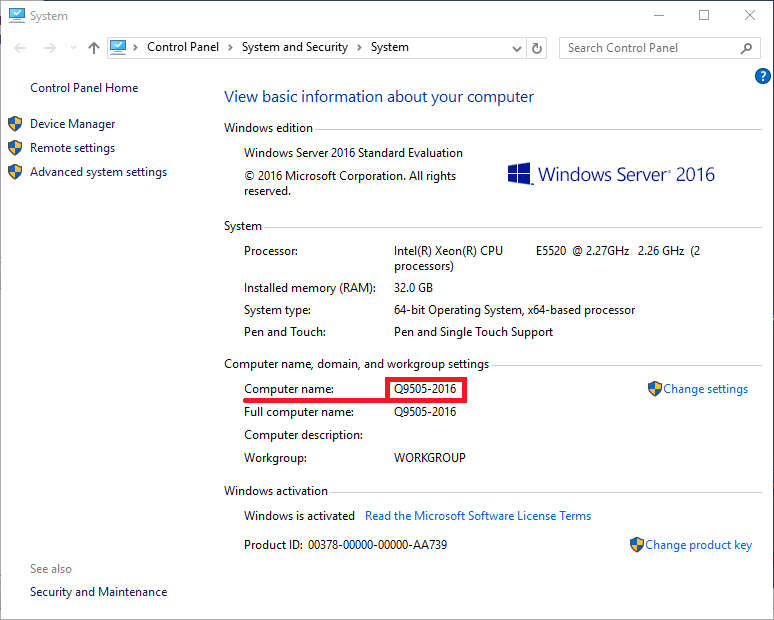
The first step in the licensing process is to ensure that you have purchased enough licenses to cover all the Hyper-V host servers in your environment. The licensing system works by licensing each host server by its Computer Name found in the System Properties of your Windows Server. A quick way to get to that screen is to hold down the Windows key and press the Pause / Break key (Win + Pause/Break). Alternatively, you can right-click the Start-Menu and select System. (A host server is simply the Operating System hosting the guest virtual machines.)
Step 2 - Purchase enough licenses
The count in your shopping cart determines how many host servers you can license. You can add more licenses later should you need more.

Step 3 - Fill out the forms, Company Name & Server Names
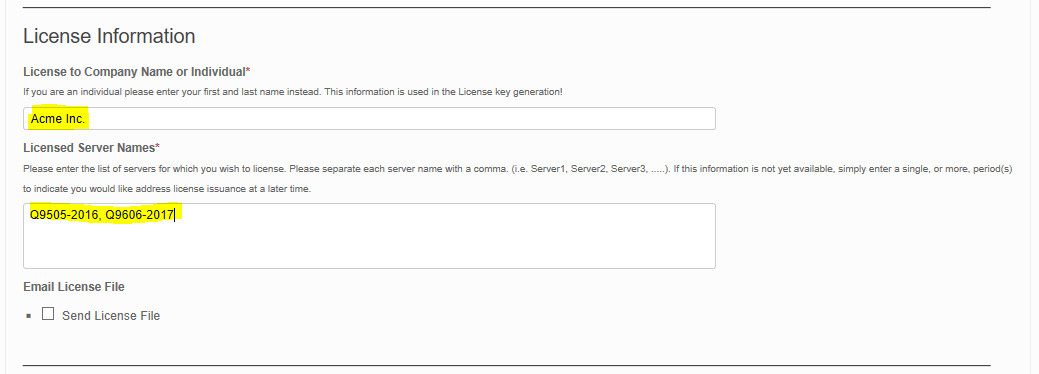
On the checkout forms you will see License Information as a section that needs particular attention. The field, License to Company Name or Individual should preferably be a company name or perhaps a company name combined with a business unit name, like ACME Inc, or ACME Inc, IT Department.
Equally important is the Licensed Server Names field. Here you will enter all the host server names you wish to license. The server names should be entered separated with a comma (i.e. Server1, Server2, Server3,...). Once the server names are entered and the product is purchased, a digitally signed license file with those server names embedded will be issued. This file cannot be manually modified as it would then invalidate its digital signature. Should a server name need to be changed, this can be done via the "My Account" web page. In that case, a new digitally signed license file will be generated and issued. (More on that later.)
Note: it is not necessary for new customers to select the "Send License File" Checkbox - all new customers will get an email. We'll cover getting an additional copy later.
Step 4 - Copy the license file to the server(s)
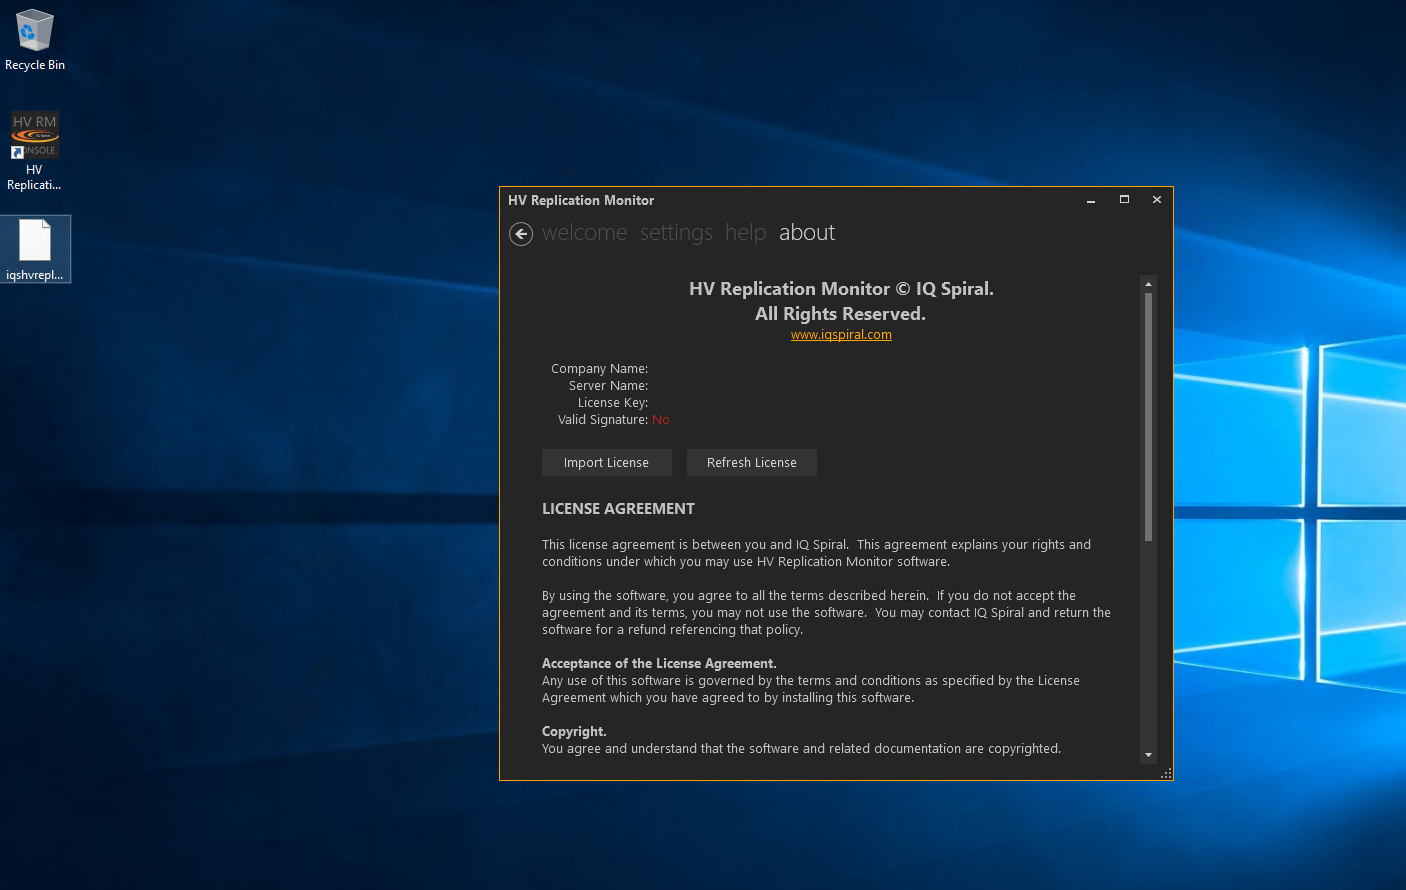
Upon successful completion of a purchase, you will receive an email from "IQ Spiral Notification" with the subject "IQ Spiral License Key Info". This email will have an attachment: iqshvreplmon.lic. This file will be your license for each of the host servers you have listed. Copy the license file to each of your host servers; for this example, we'll choose the desktop. Open the HV Replication Monitor graphical interface and navigate to the "About" link in the top of the application opening screen
Step 5 - Import the license
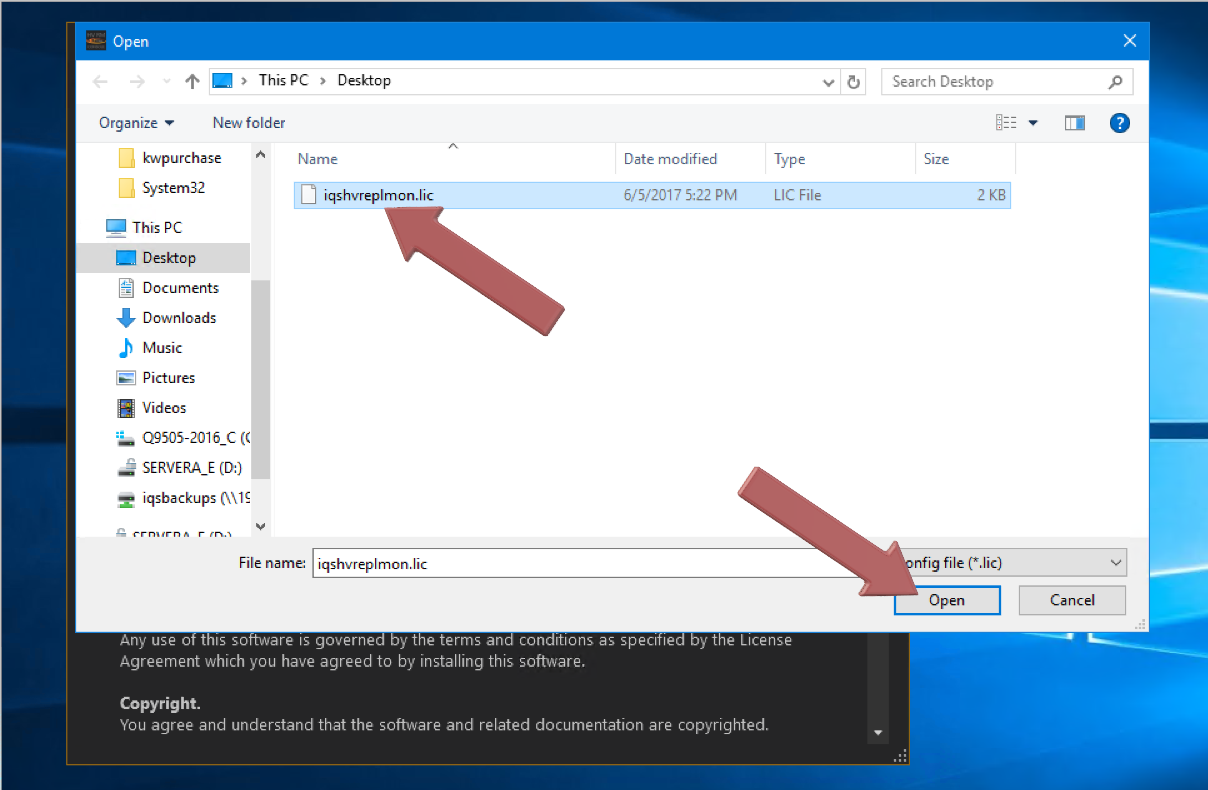
Select "Import License" and navigate using the dialog box that appears to the iqshvreplmon.lic file and select "Open".
Step 6 - License Complete
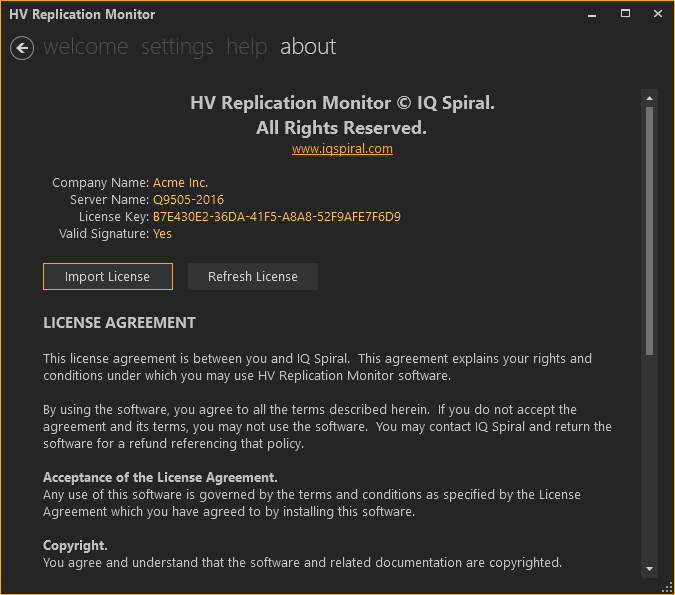
If the server name in the license file matches your server name, the license will appear as such:
